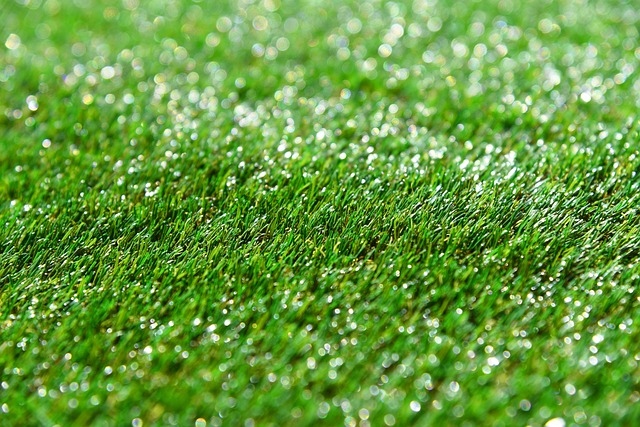
Artificial grass, otherwise known as astroturf, has become an increasingly popular choice for homeowners. It is particularly popular for those looking to create a low-maintenance, beautiful outdoor space.
While it might seem daunting, installing artificial grass is a DIY-friendly project. In this guide, we’ll walk you through the step-by-step process of laying artificial grass.
Planning and preparation
- Measure Your Garden: Bit of an obvious one, but knowing how much astroturf you’re going to need is critical. Therefore the first step is to accurately measure the space to determine the exact amount of artificial grass you’ll need.
- Choose the Right Type of Artificial Grass: Consider factors such as foot traffic, drainage, and aesthetic preferences when selecting your artificial grass. A higher-quality, denser grass is ideal for high-traffic areas, while a lower-quality grass may suffice for less-used areas.
- Prepare the Ground:
- Level the Selected Area: Ensure the ground is level to prevent unevenness in the artificial grass.
- Remove Weeds and Debris: Thoroughly remove any weeds, rocks, or other debris from the ground. This step is incredibly important so don’t rush it! A stray rock could easily rip through the laid grass or worse, cause someone to twist an ankle.
- Compact the Soil: Compact the soil to create a solid base for the artificial grass.
What Tools and Materials do you Need to Lay Artificial Grass?
Before you start, ensure you have these essential tools and materials ready to hand:
- Artificial grass (usually bought in rolls)
- Underlay
- Utility knife
- Tape measure
- Marker pen
- Staple gun and staples
- Sand or rubber infill
Step-by-Step DIY Artificial Grass Installation Guide
1. Laying the Underlay:
- Roll out the underlay, ensuring it covers the entire area.
- Cut the underlay to fit the shape of your garden.
- Secure the edges of the underlay using staples or tape.
2. Cutting the Artificial Grass:
- Measure and mark the artificial grass or astroturf to fit your garden’s dimensions.
- Use a utility knife to cut the grass along the marked lines.
3. Laying the Grass:
- Roll out the cut pieces of artificial grass onto the underlay.
- Ensure the grass is flat and wrinkle-free.
- If necessary, trim the edges to fit the space perfectly.
4. Securing the Edges:
- Use staples or pins to secure the edges of the artificial grass to the underlay.
- For a more professional finish, consider using a perimeter edging strip.
5. Joining the Seams:
- If your garden requires multiple pieces of artificial grass, carefully join the seams.
- Use a seam tape or adhesive to secure the seams and ensure a smooth transition.
6. Brushing the Grass:
- Brush the artificial grass in different directions to create a natural look.
7. Adding Infill (Optional):
- For a more realistic appearance and improved performance, add sand or rubber infill to the artificial grass.
Artificial Turf Maintenance Tips
- Regular Brushing: Brush your artificial grass regularly to maintain its appearance and prevent matting.
- Cleaning: Remove debris and leaves with a broom or leaf blower.
- Stain Removal: Clean spills promptly to prevent stains.
- Winter Care: While artificial grass is low-maintenance, it’s still beneficial to remove heavy snow to prevent damage.
By following these steps and tips, you can successfully install artificial grass and enjoy a beautiful, low-maintenance outdoor space

Leave a comment